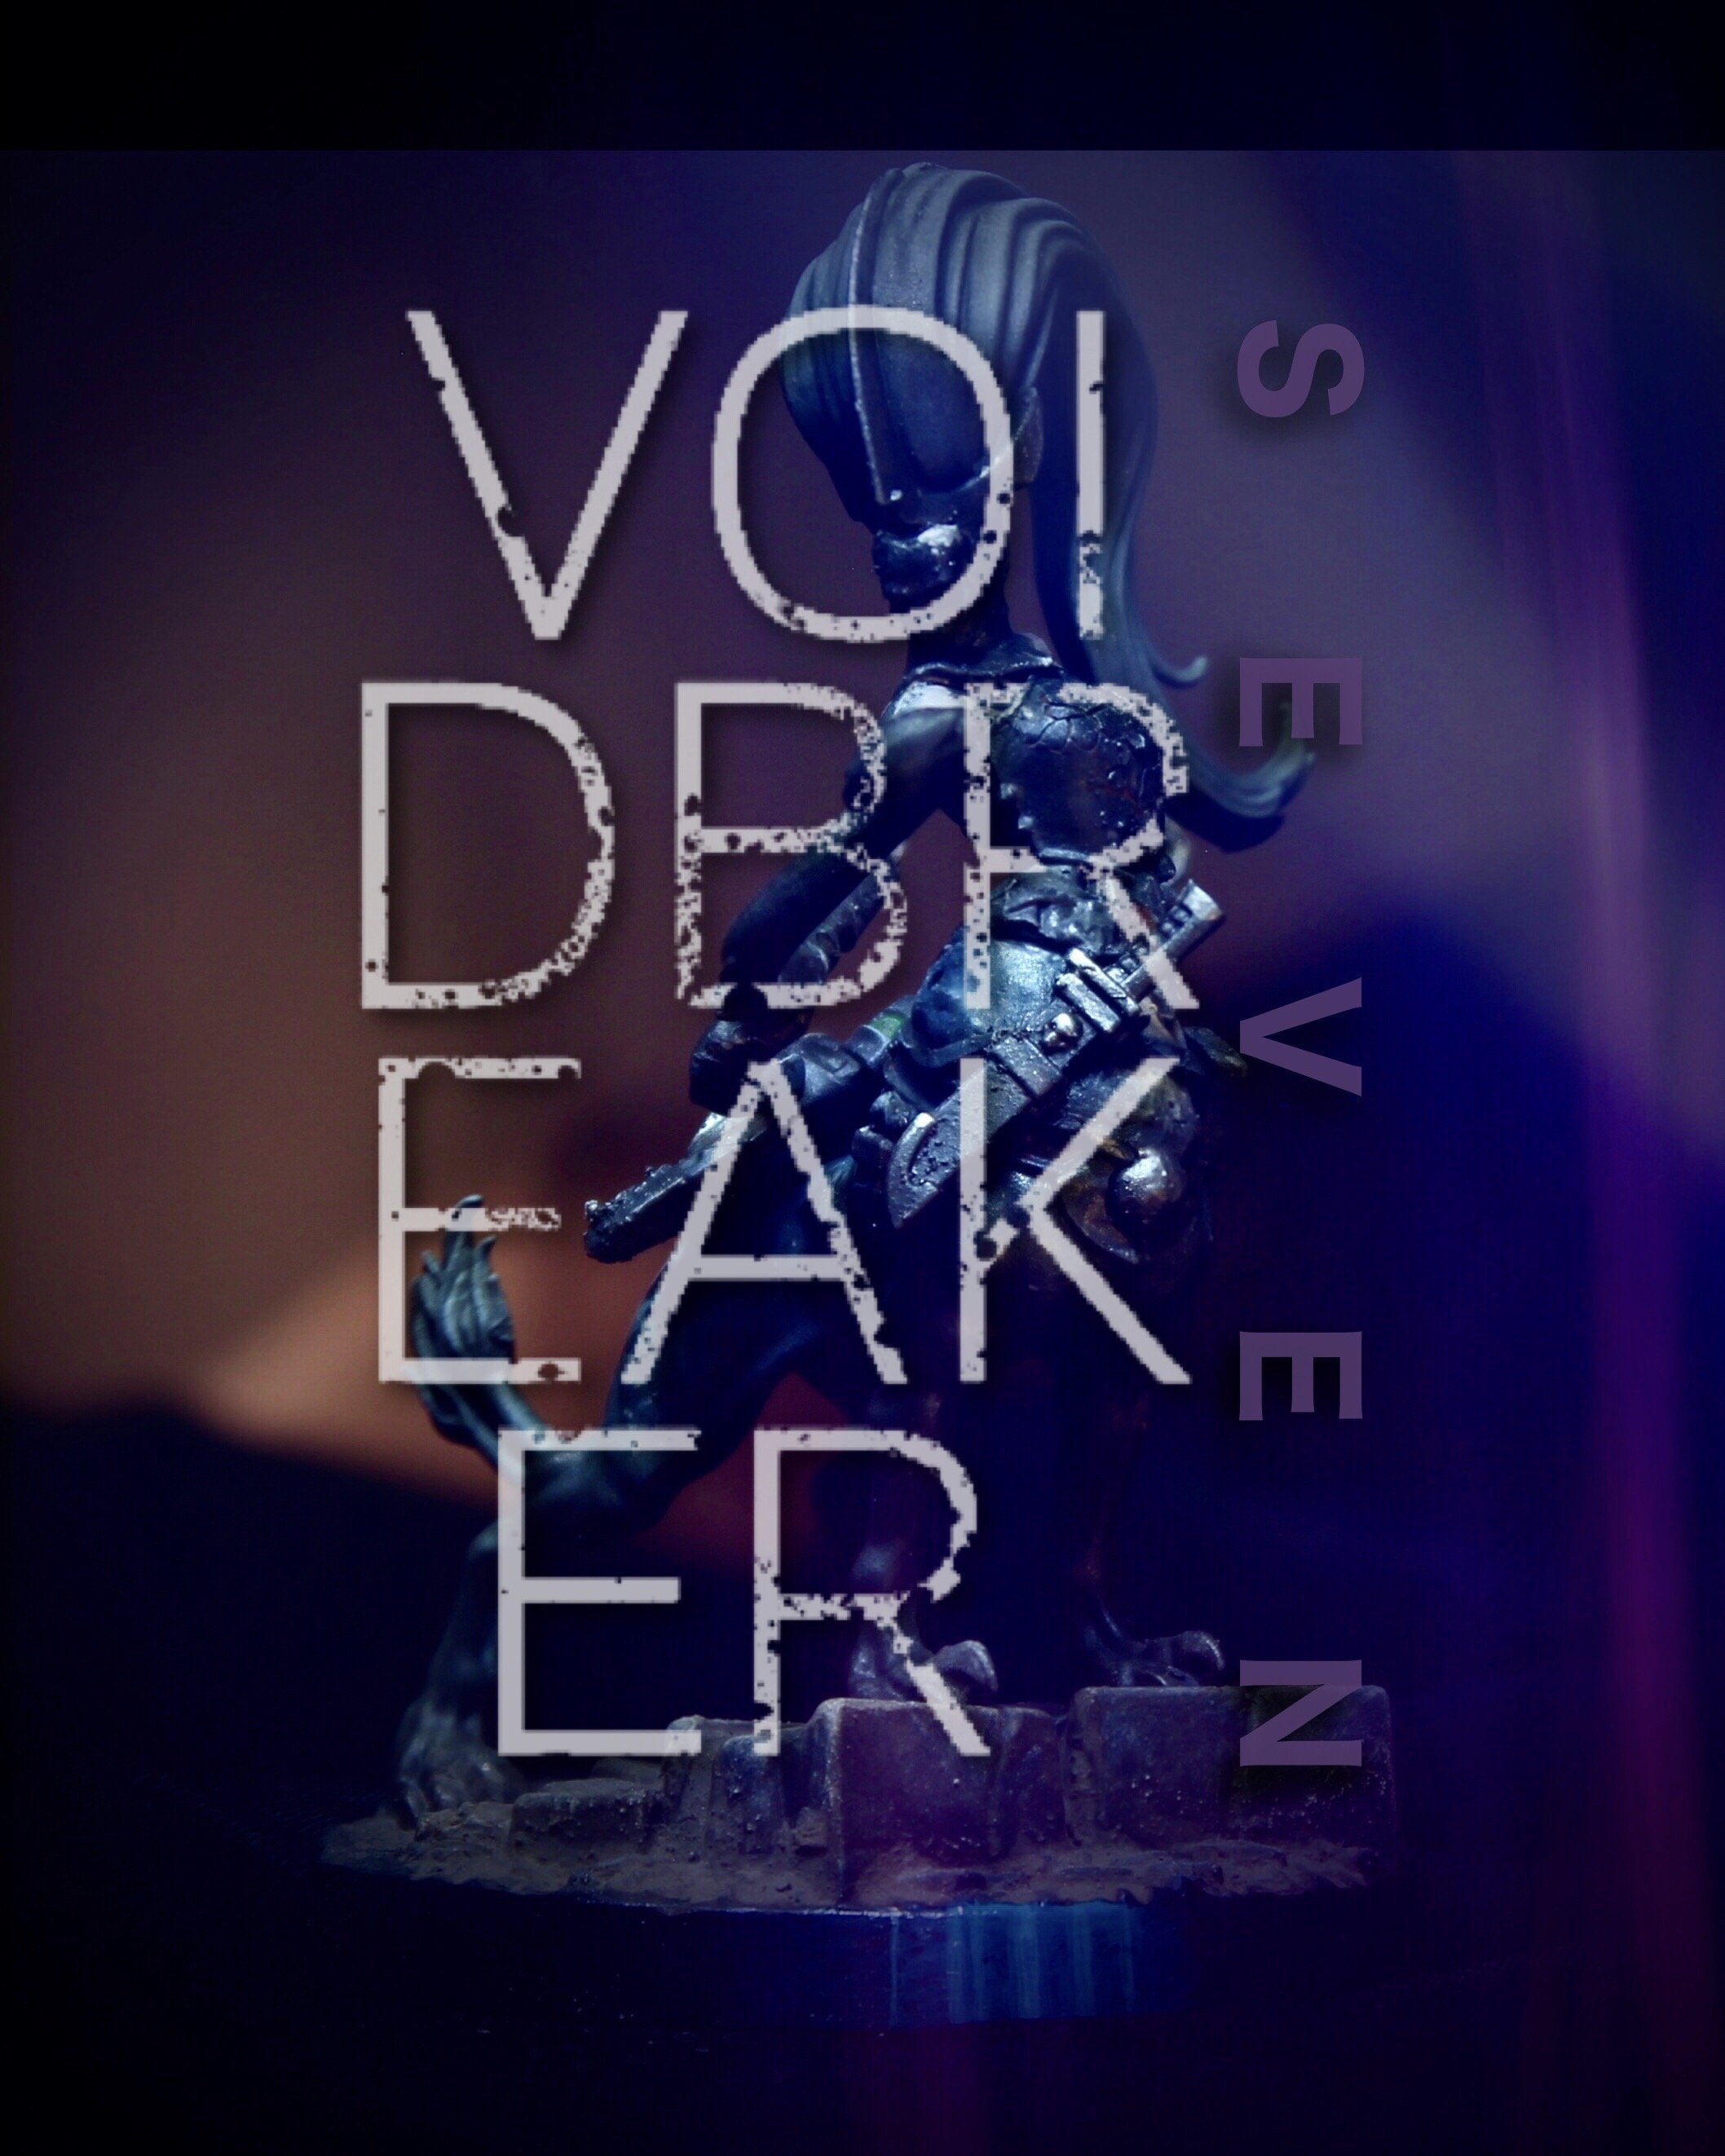
VOIDBREAKER.7
Welcome back, in this addition I’m going over another mini trade I did with Matt from @totally_not_panicking (Instagram). Matt, aside from being a fucking prolific mini creator and painter, has organized the ever popular annual Smash Bash competition. This is one of my absolute favorite community mini making competitions that just seems to get bigger and bigger every year. You should really check it out. Even if you’re not into creating weird kitbashes or minis as art its an eyefull of absolutely fabulous minis by some amazing creators. I’ll link it at the end of this article so you can check out the previous entries and pick of something from the shop.
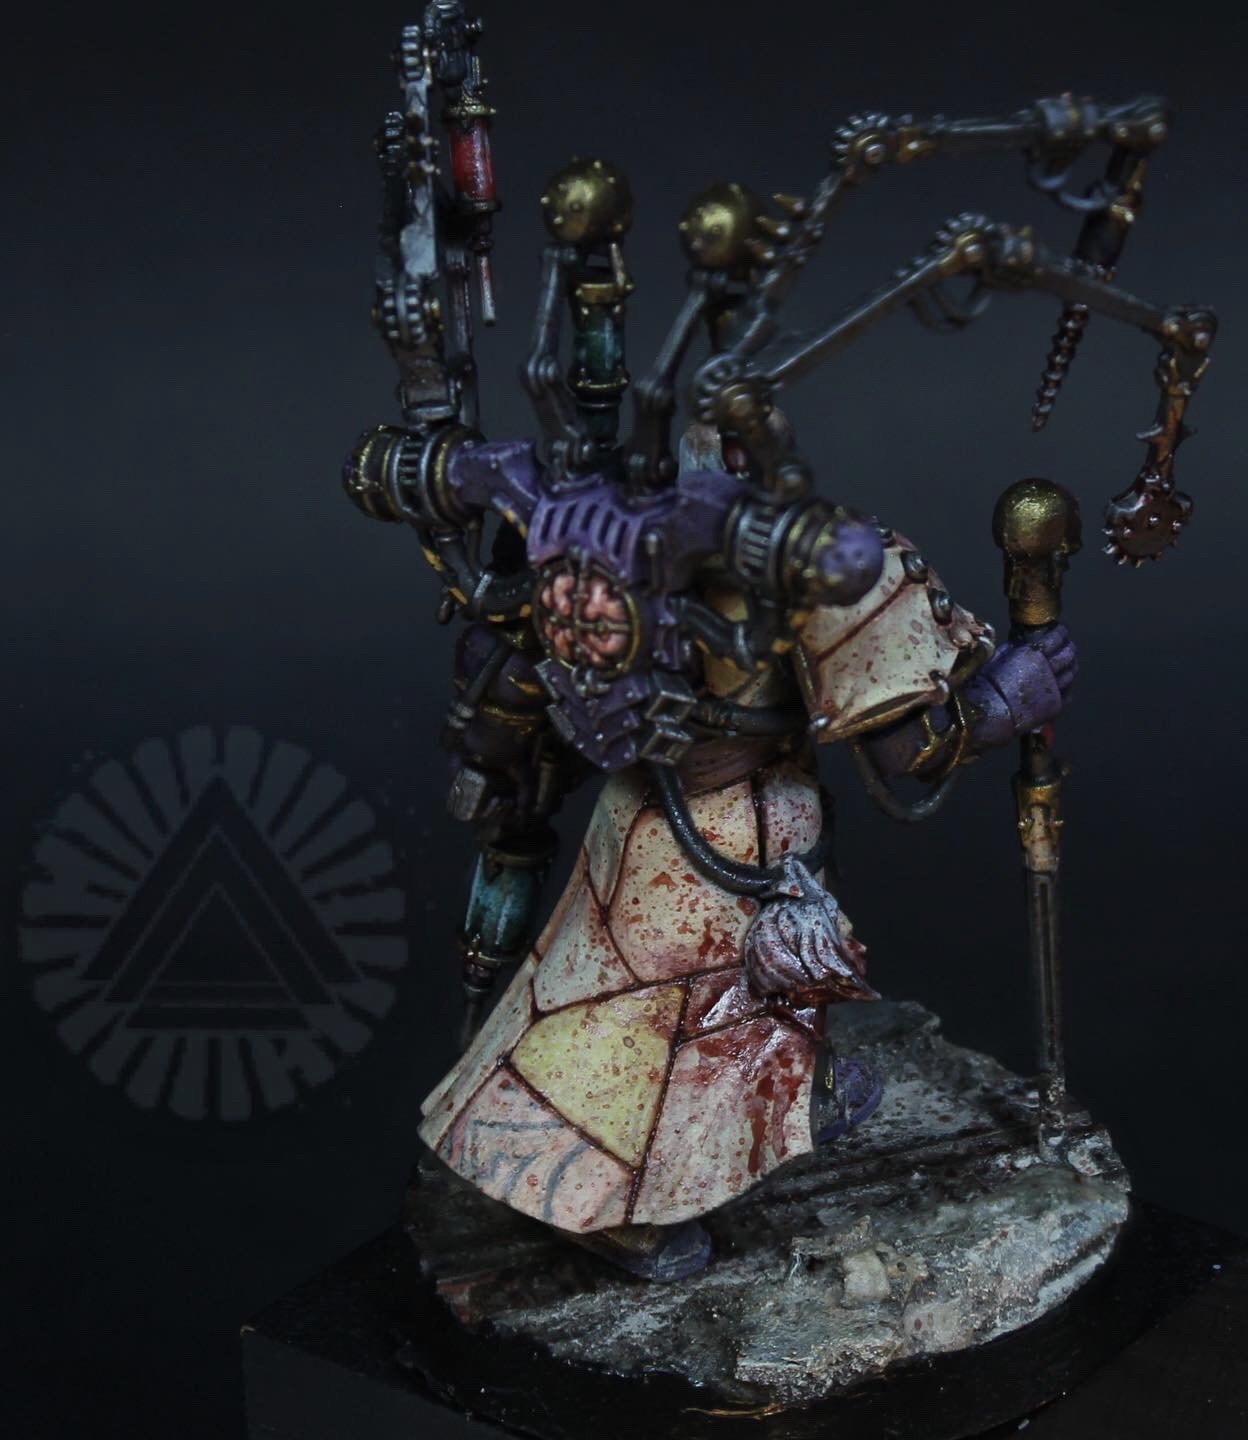
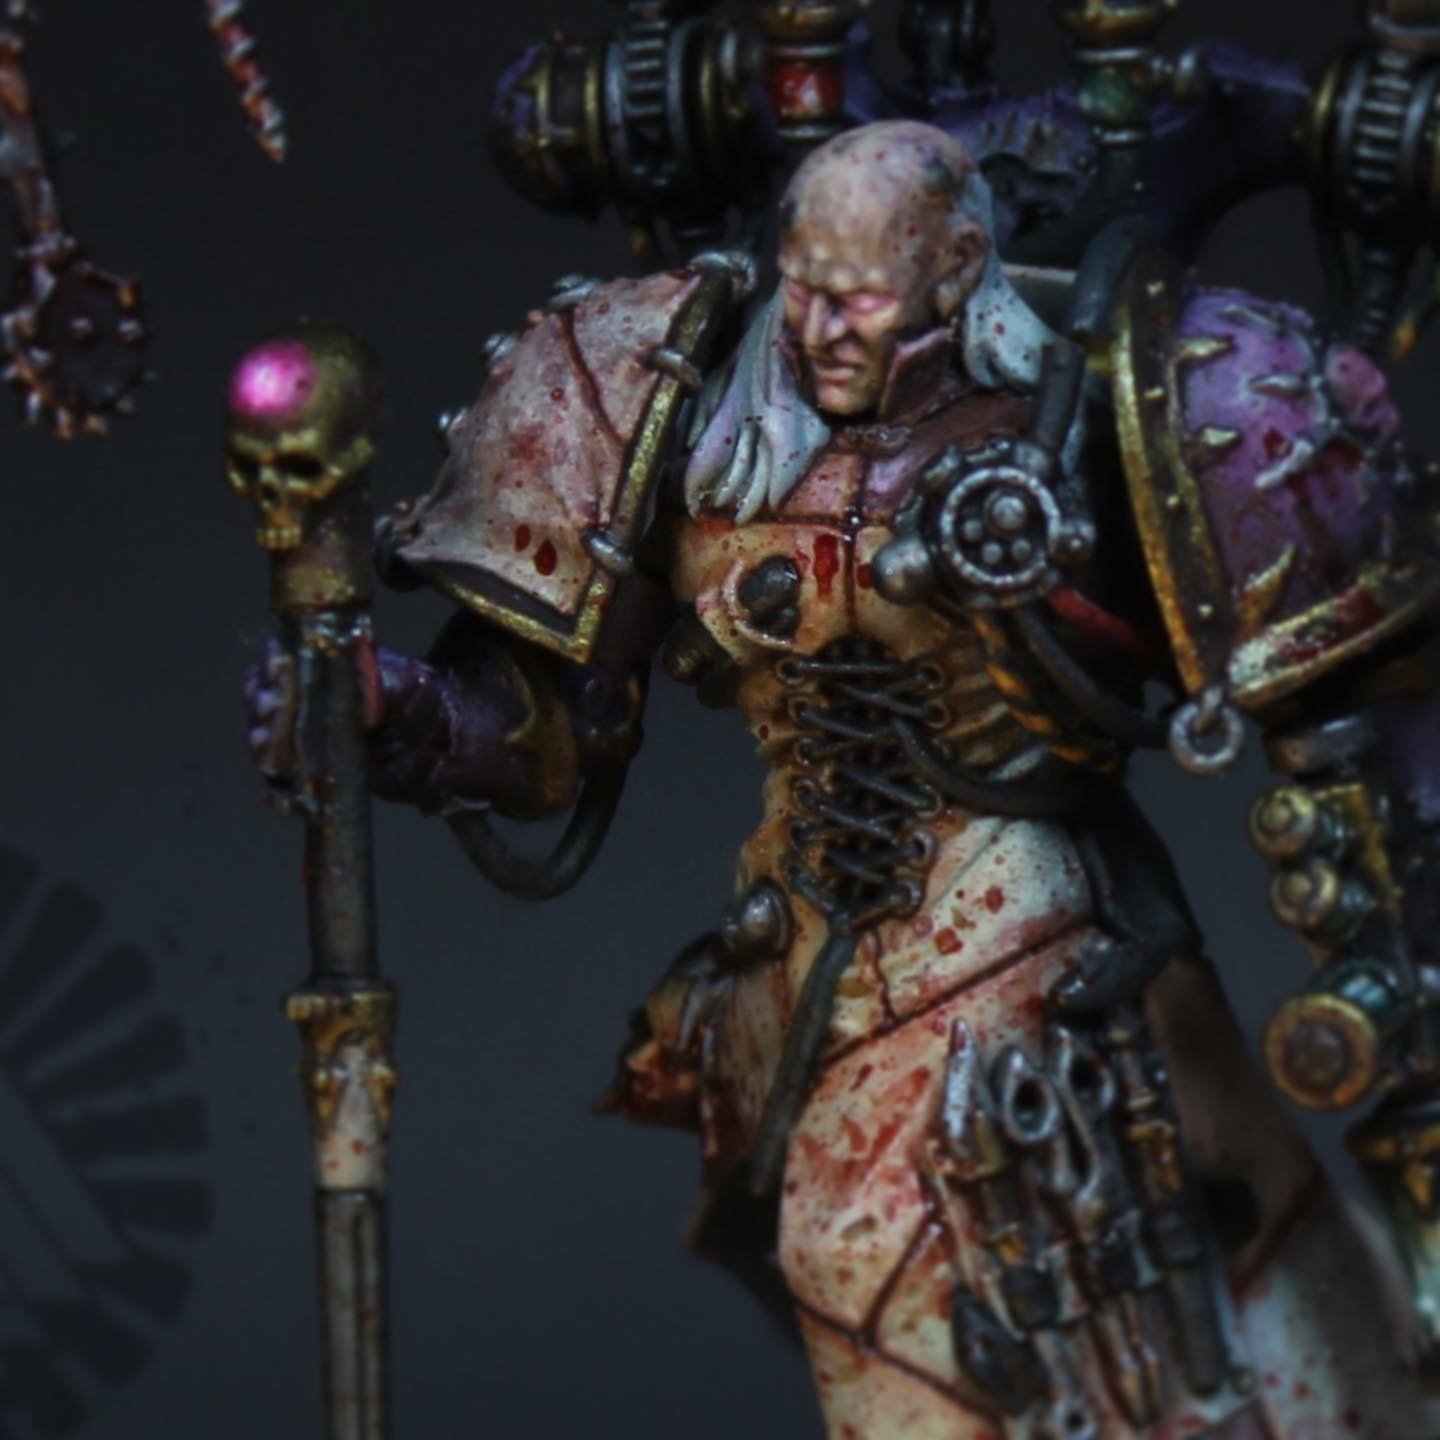
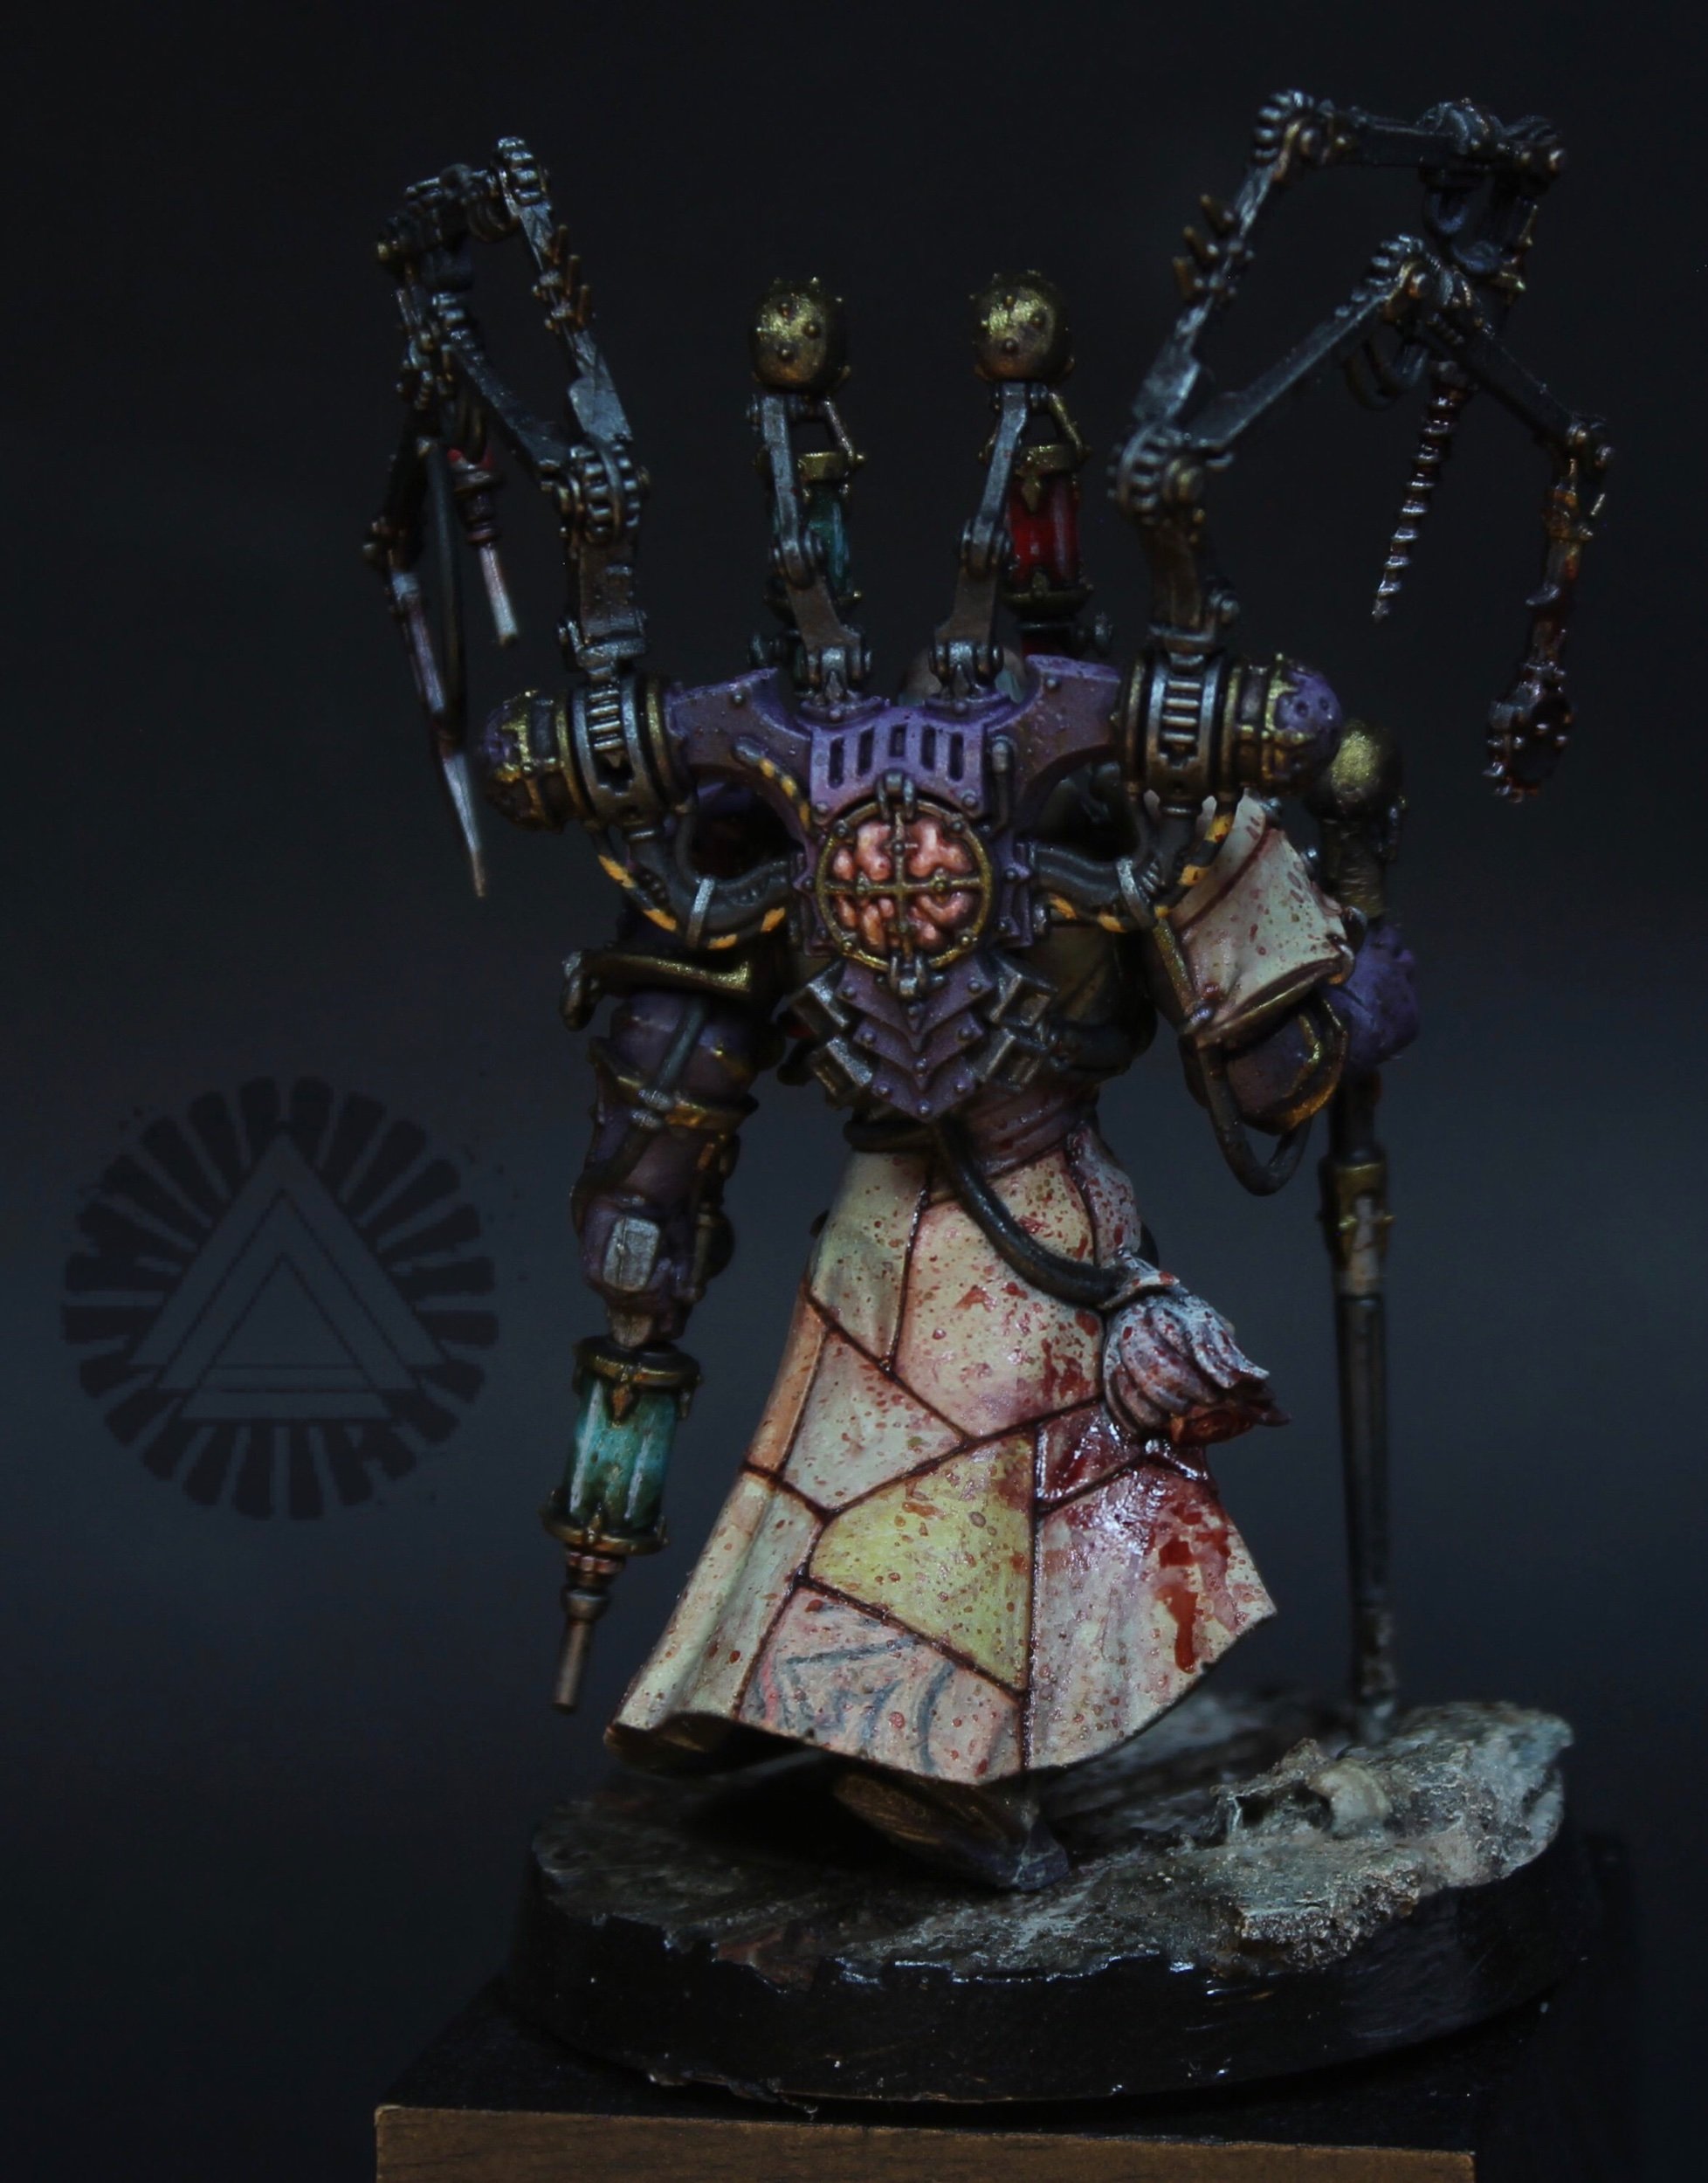
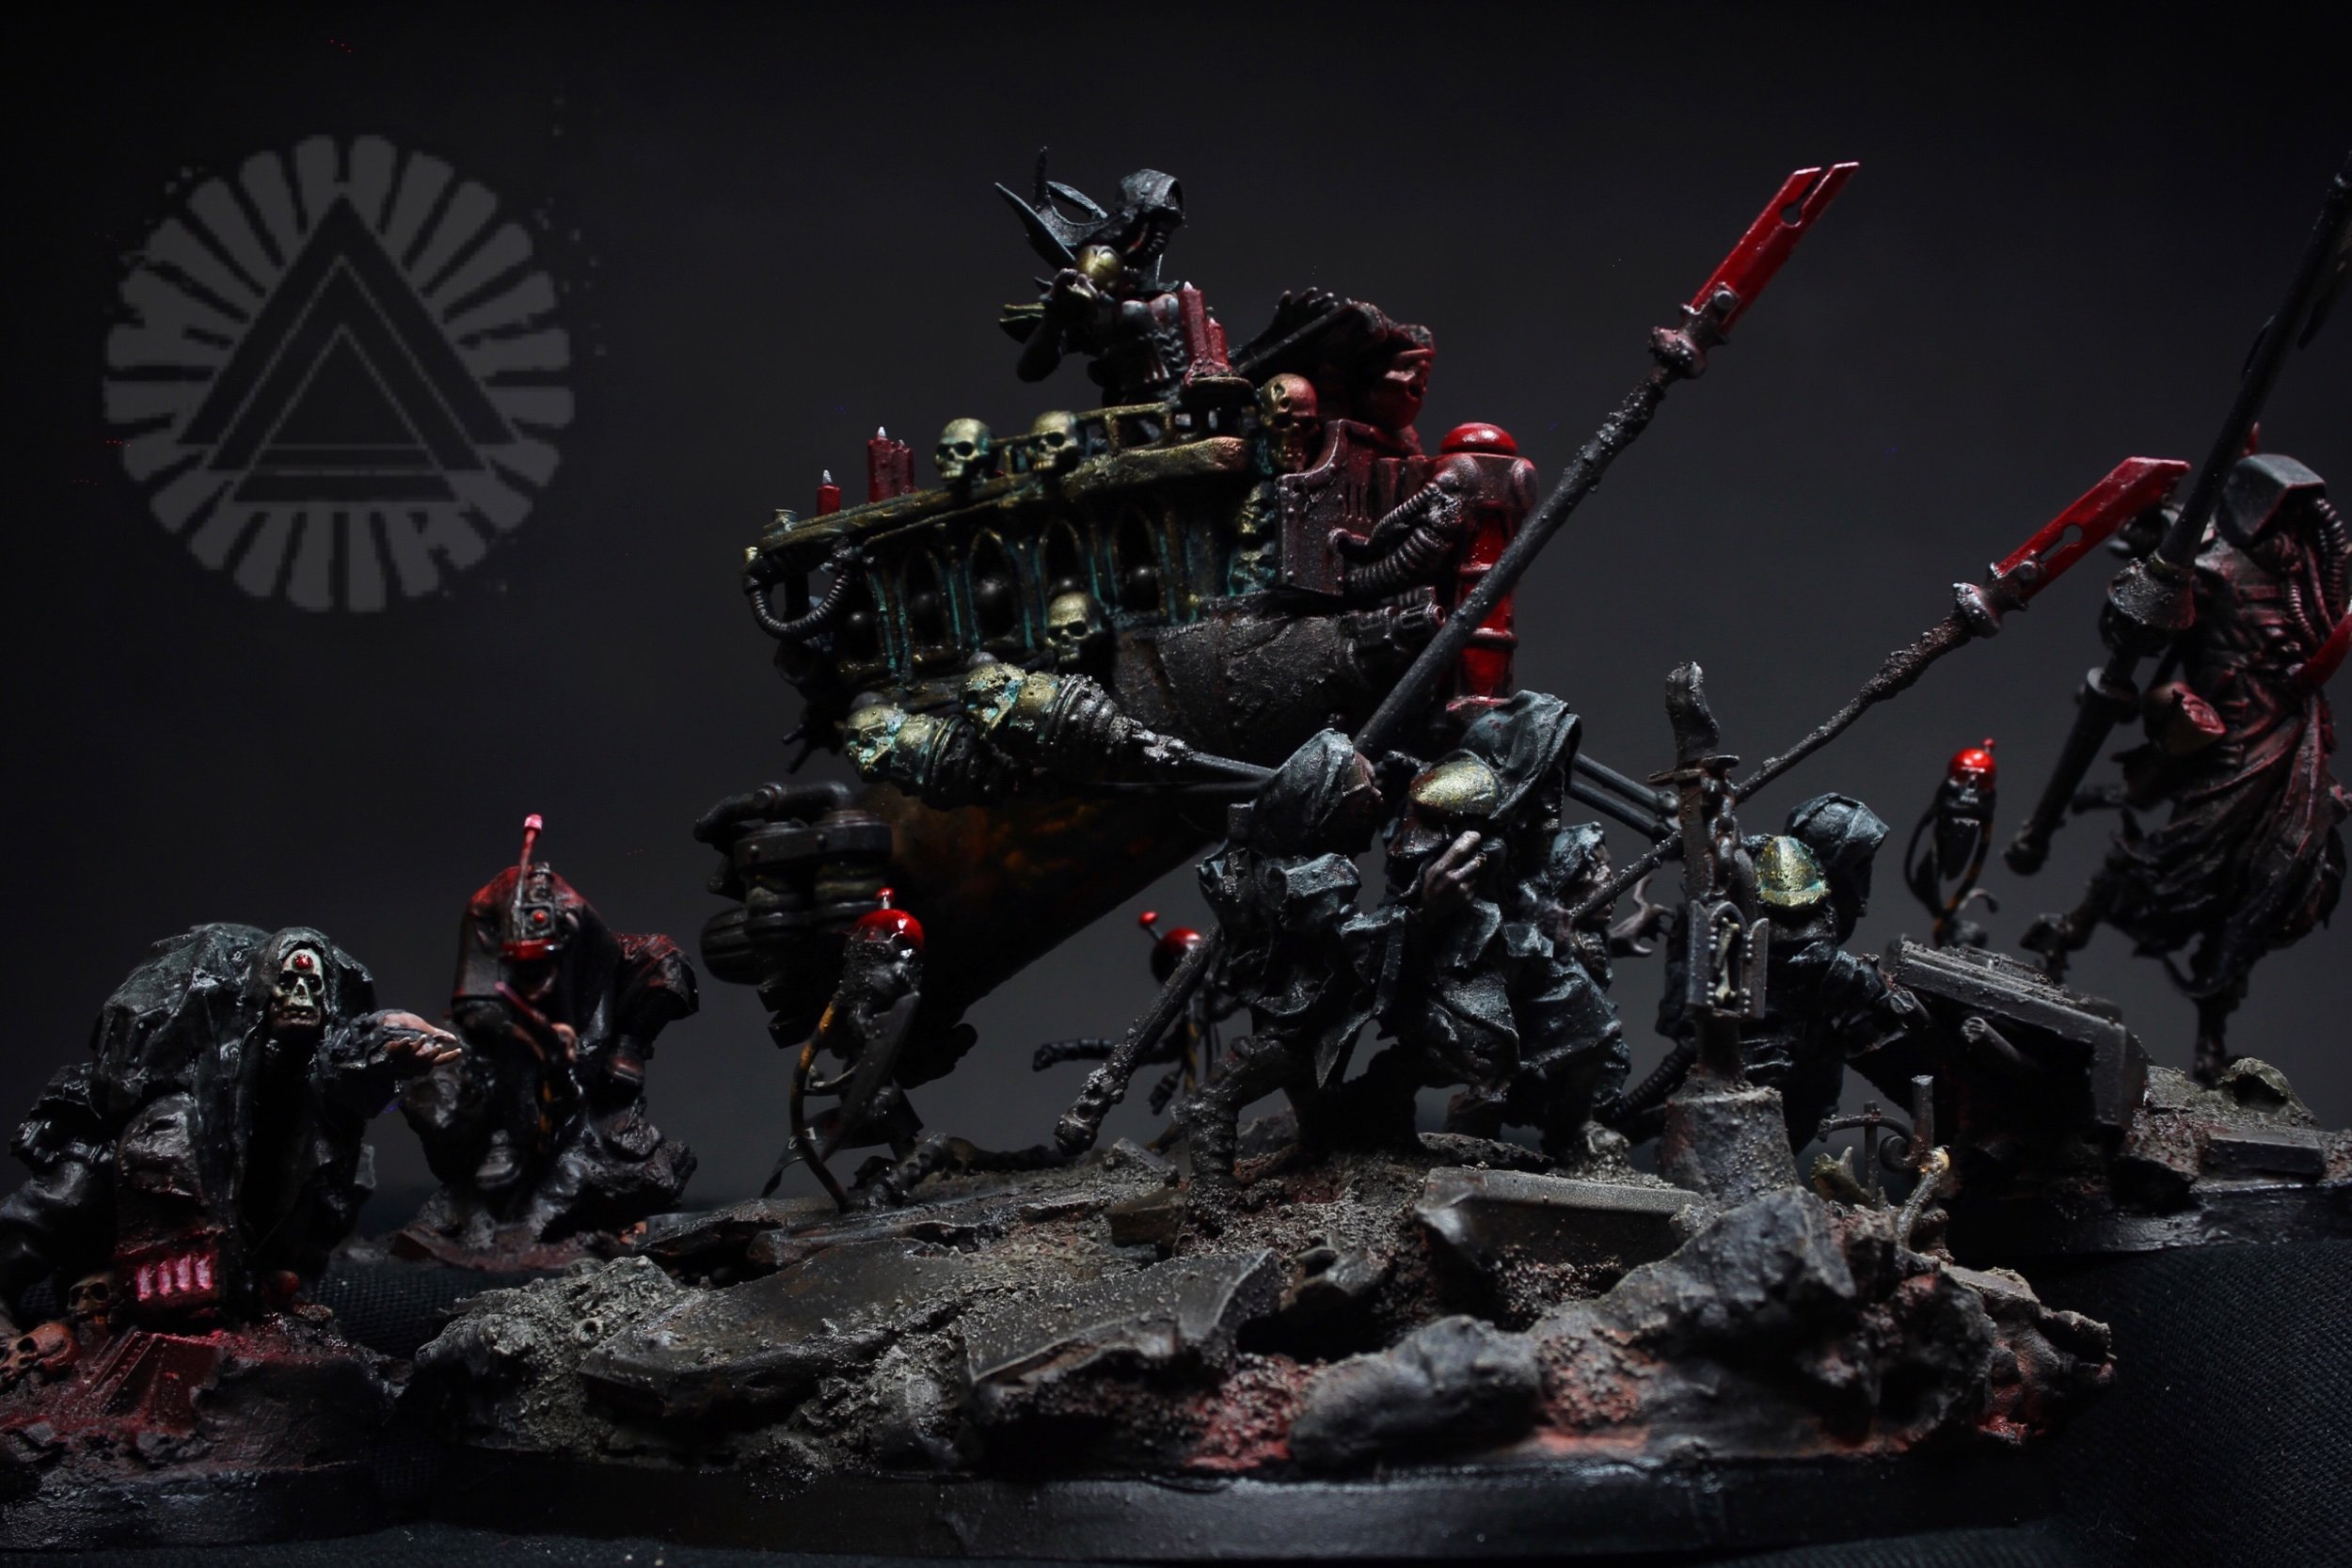
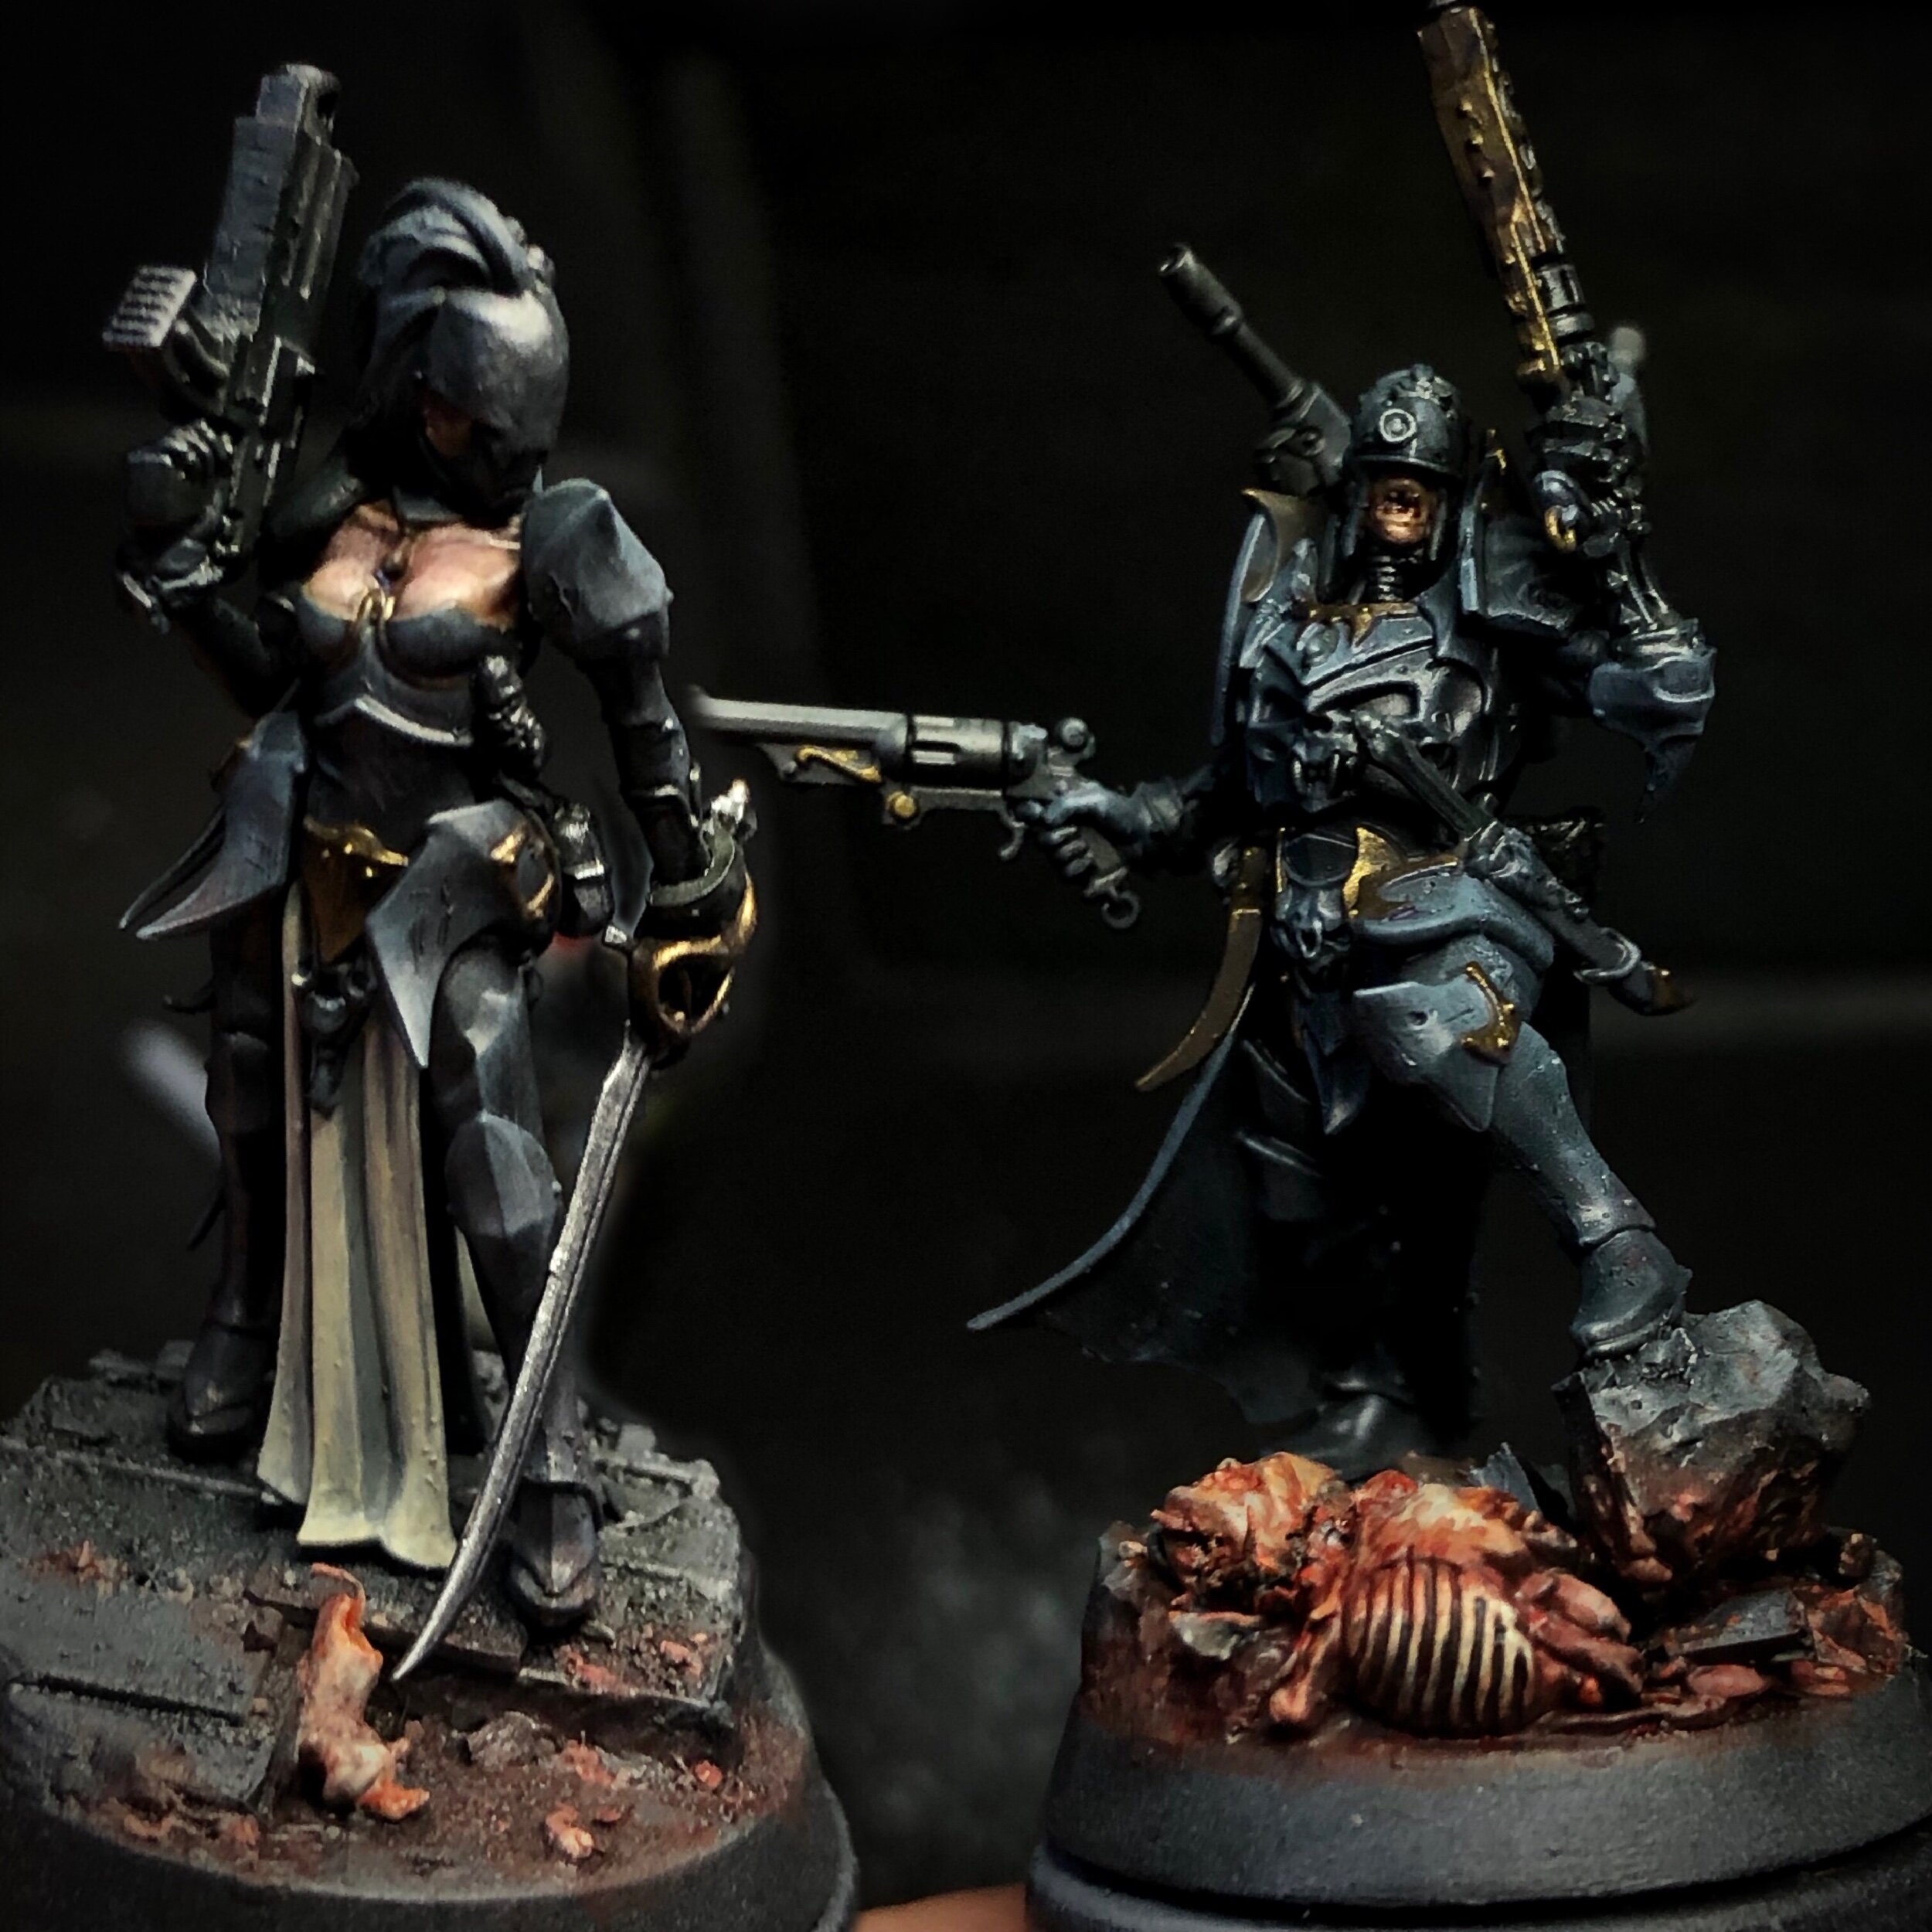
At the end of last June I allowed a personal depressive episode to distract me from from my diabetes care. This landed my type 1 diabetic ass in the hospital for a little bit as well as worrying the hell out of my family. It was a huge wake up call that I feel like was a long time coming. I’ve now gotten a secure hold of my treatment and am back on a better, more serious approach to my health issues. Not really something I talk about a lot, but after missing a few weeks of work I had to let disappointed clients know through my social media channels. Matt saw this and sent me a super cool mini as kind of a “get well soon” gift. That hit me right in the cold dead heart. This thing reeked of Matt’s creepy imaginative style and I loved it.

This thing is an absolute stunner, so weird and awesome. Every element is highlighted in its own glory. I love the strange under glowing red on the skin tones. really just the best stuff!
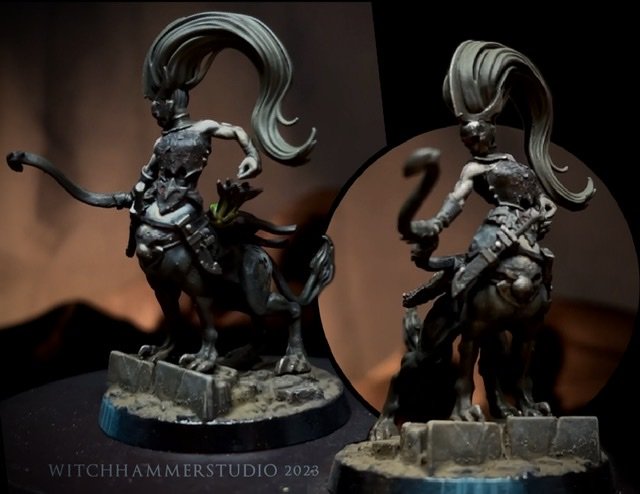
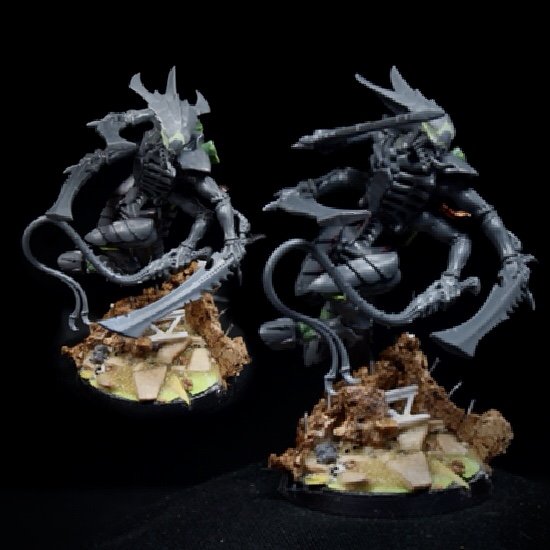
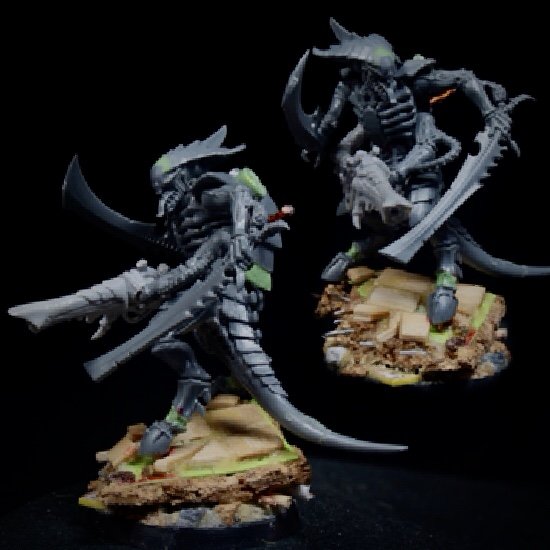
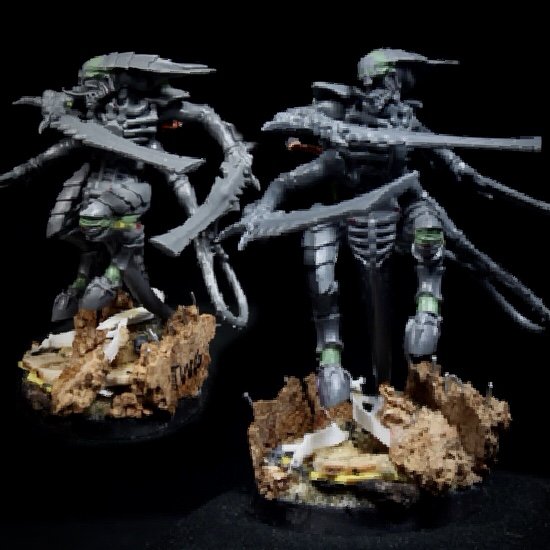
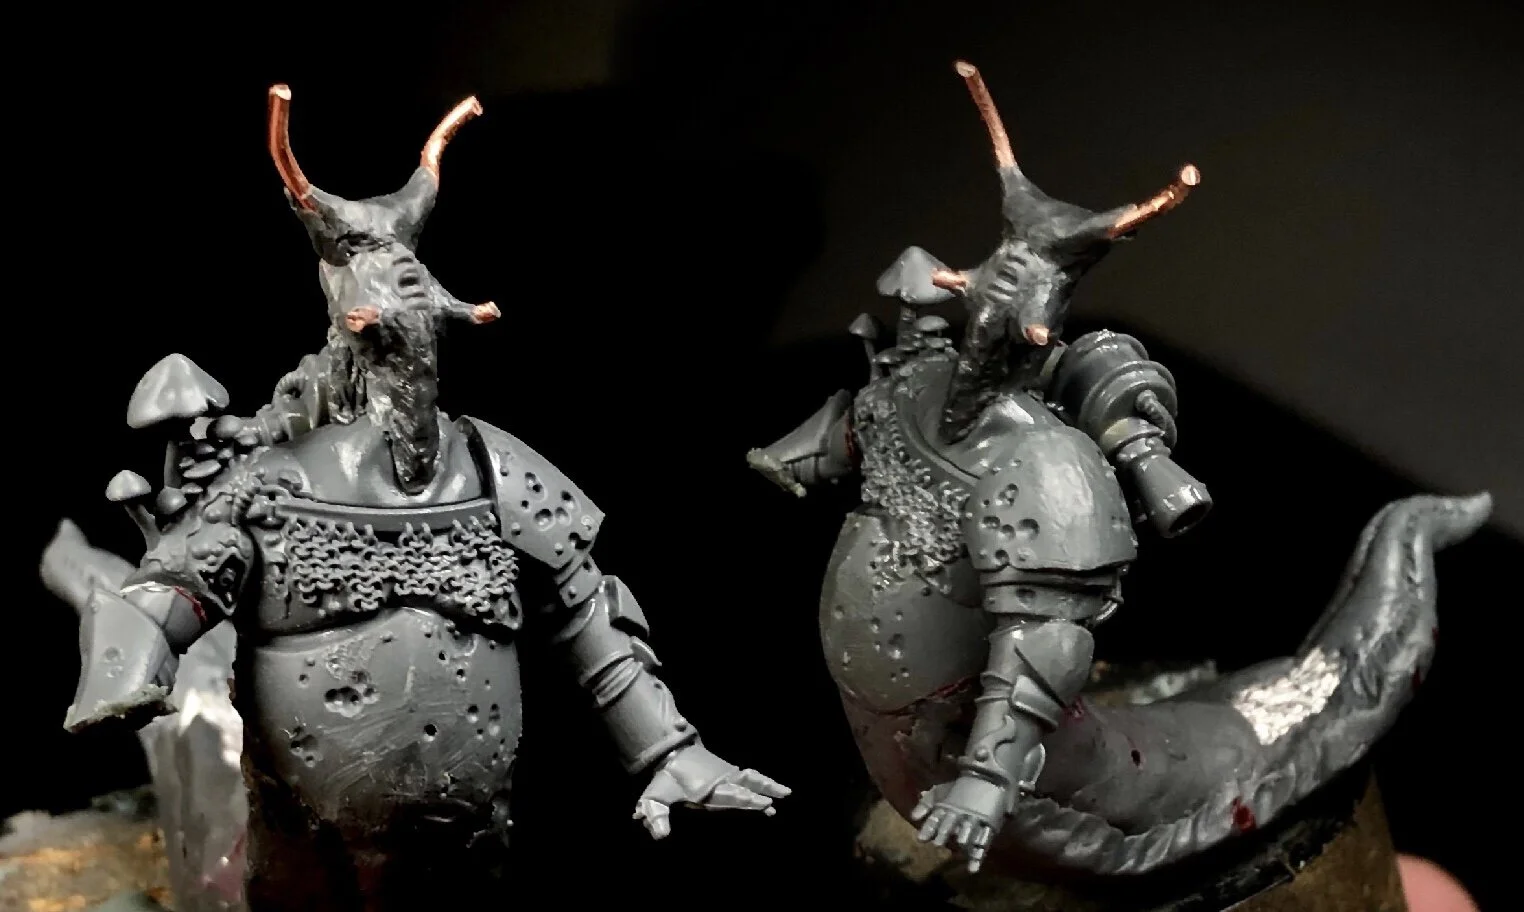
After I was back on my feet (Or my ass. I don’t usually make minis standing up!) I jumped back in to make some things. Just having fun, I grabbed a few bits I had been setting aside for a while and started chopping. I had been holding onto the Griffin type creature from one of the earlier Warhammer Underworlds Stormcast Warbands, and half of a character from the Morgwaeth’s Blade coven.
This one was pretty “stream of consciousness” in its creation. I just started fitting ideas together where they seemed to fit. It was pure fun and went together fairly quick.
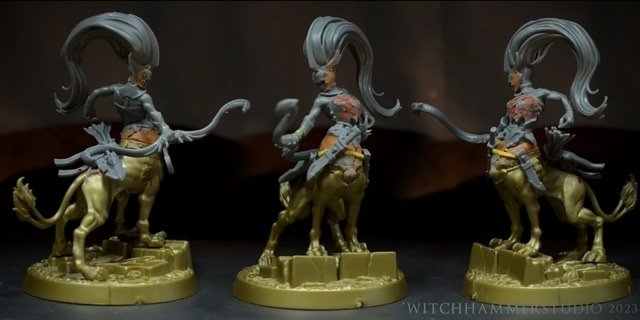
As far as the painting went, I only hade a few focuses. Limited palette, Appaloosa pattern, and poison arrows. Other than the skin I stuck with turquoises and grey, I also has a lot of fun using some fluorescent greens on the quivered arrows. Check it out and let me know what you think. There are also a few videos on my Instagram as well at the moment. Im also in the middle of filming and editing a grip of video content to start wrapping my fingers around the throat of YouTube soon so be on the look out for that! In the mean time, check out Matt’s page at www.smashbash.org Thanks for checking this out and have fun!